


How to Install TensorFlow GPU and its component on Ubuntu 16.04 (TensorFlow 1.8 with CUDA 9.2) - Par
- Jul 22, 2018
- 1 min read
In the previous tutorial, we have completed creating a virtual environment for our system, this next tutorial will show you how to install TensorFlow and its dependencies the fastest way.
1. Go to https://www.jetbrains.com/pycharm/download/#section=linux to download the latest version of PyCharm, or we could do the faster way, which is using Terminal:
Ctrl + Alt + T to open Terminal:
2. Install NumPy
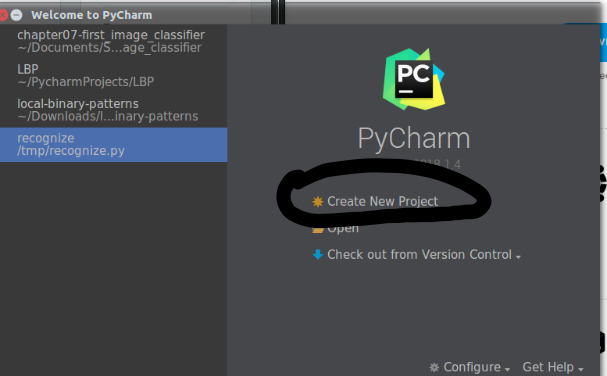
a. After installing PyCharm, create a project.
b. Next step requires you to choose "Existing Interpreter" and choose your newly created Virtual environment.
c. After creating a project, the Main UI will pop-up, it will look like this:

d. Go to File-> Setting-> Project Interpreter. Make sure that the Project Interpreter is your virtual environment. Click on the "+" icon on the right side of the menu and start adding packages.

e. Install Numpy by searching "Numpy" in the text box. Click install packages.
Once Numpy is installed, we can install other packages with eases, including OpenCV.
3. Install OpenCV:
- Unzip both files:
- Run CMake:
- Compile OpenCV:
- Sym-link OpenCV to your Virtual Environment:
- Test your OpenCV installation:
4. Install TensorFlow and other dependencies:
Go back to the "Project Interpreter" in Part 2, search and install:
scipy
matplotlib
pillow
-mutils
h5py
requests
progressbar2
scikit-learn
scikit-image
tensorflow-gpu
- keras
Check to make sure that Keras and TensorFlow are successfully installed.
Congratulation!!!! You are now officially begin your journey to explore Machine Learning and Computer Vision.
Comments